I stumbled across some pallets one day and started thinking about ways to repurpose them. My first thought was to create a headboard for our bed! Michael and I have been looking for headboards for a long time, but we haven't been able to find a king size in our budget. Making one was going to be a challenge, but a fun one.
I am SO excited about this project. After we took all of the pallets apart, we laid the wood out how we wanted.
The design is really simple...
1. Just lay one board (a 2"x 4") that is the length of the bed (a king size is 76 inches long)
2. Then screw in the pallet boards to the long board. We used two 2"x4"s to make it stronger.
3. Use smaller 2"x4"s to create the legs for the headboard. We measured and found that we wanted the
legs to be 4'4" tall to the center of the headboard in order to be the perfect height for us.
Here's what we used...
- a number of pieces of wood from pallets
- two long 2"x 4"s and two shorter ones
- wood screws and brackets
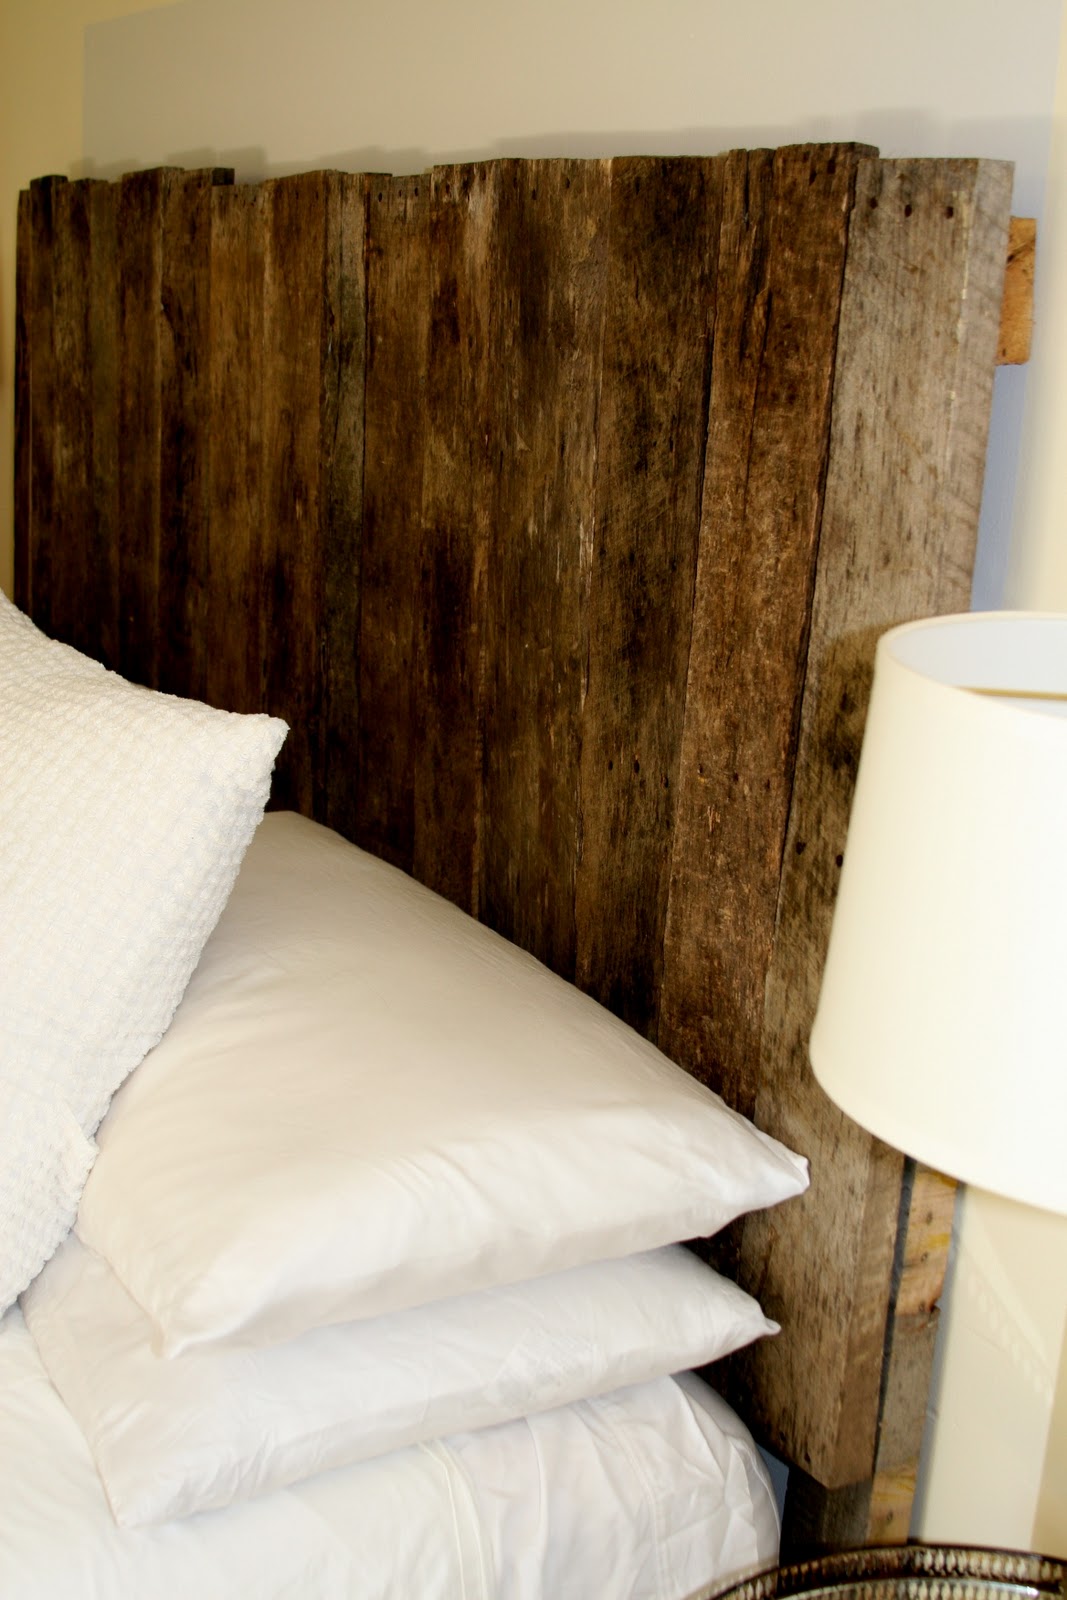
Now that we're done, we have the option to stain it, or just use poly to seal it and keep the natural look.
My favorite thing about a project like this is that a headboard like ours could work in any room. It could be painted white for a clean look or even painted on and given a design to fit the look of a room.
In the end I loved the way it looked in our room with a more natural look. I love it so much.
Now if you are not the DIY type these headboards are available for sale. Email me at sprigbymia@gmail.com